Before you get rid of your expensive Breville Smart Oven Pro (Model BOV900BSS), you must read this. When our 6-year-old oven’s door failed, we discovered a hard truth: most appliance repair companies will not service countertop ovens.
If you can find a shop willing to do a “bench repair,” you’ll face a $100+ diagnostic fee plus labor, easily pushing the total cost to $200-$250. The repair technician will tell you, “It’s not worth fixing. Just buy a new one.”
But we found a $13 easy door spring fix that saved our $400 oven from the landfill. This is our full Breville Smart Oven Pro review and the step-by-step repair guide that can save you hundreds, especially before a big holiday or important meal.
This post covers Phase 1 of saving your Breville oven (fixing the mechanical door). If your oven is mechanically sound but looking worn out on the inside, check out Phase 2: Our review of the Breville Smart Oven replacement rack upgrade. We swapped our old, rusty racks for stainless steel to make the oven feel brand new.
Table of Contents
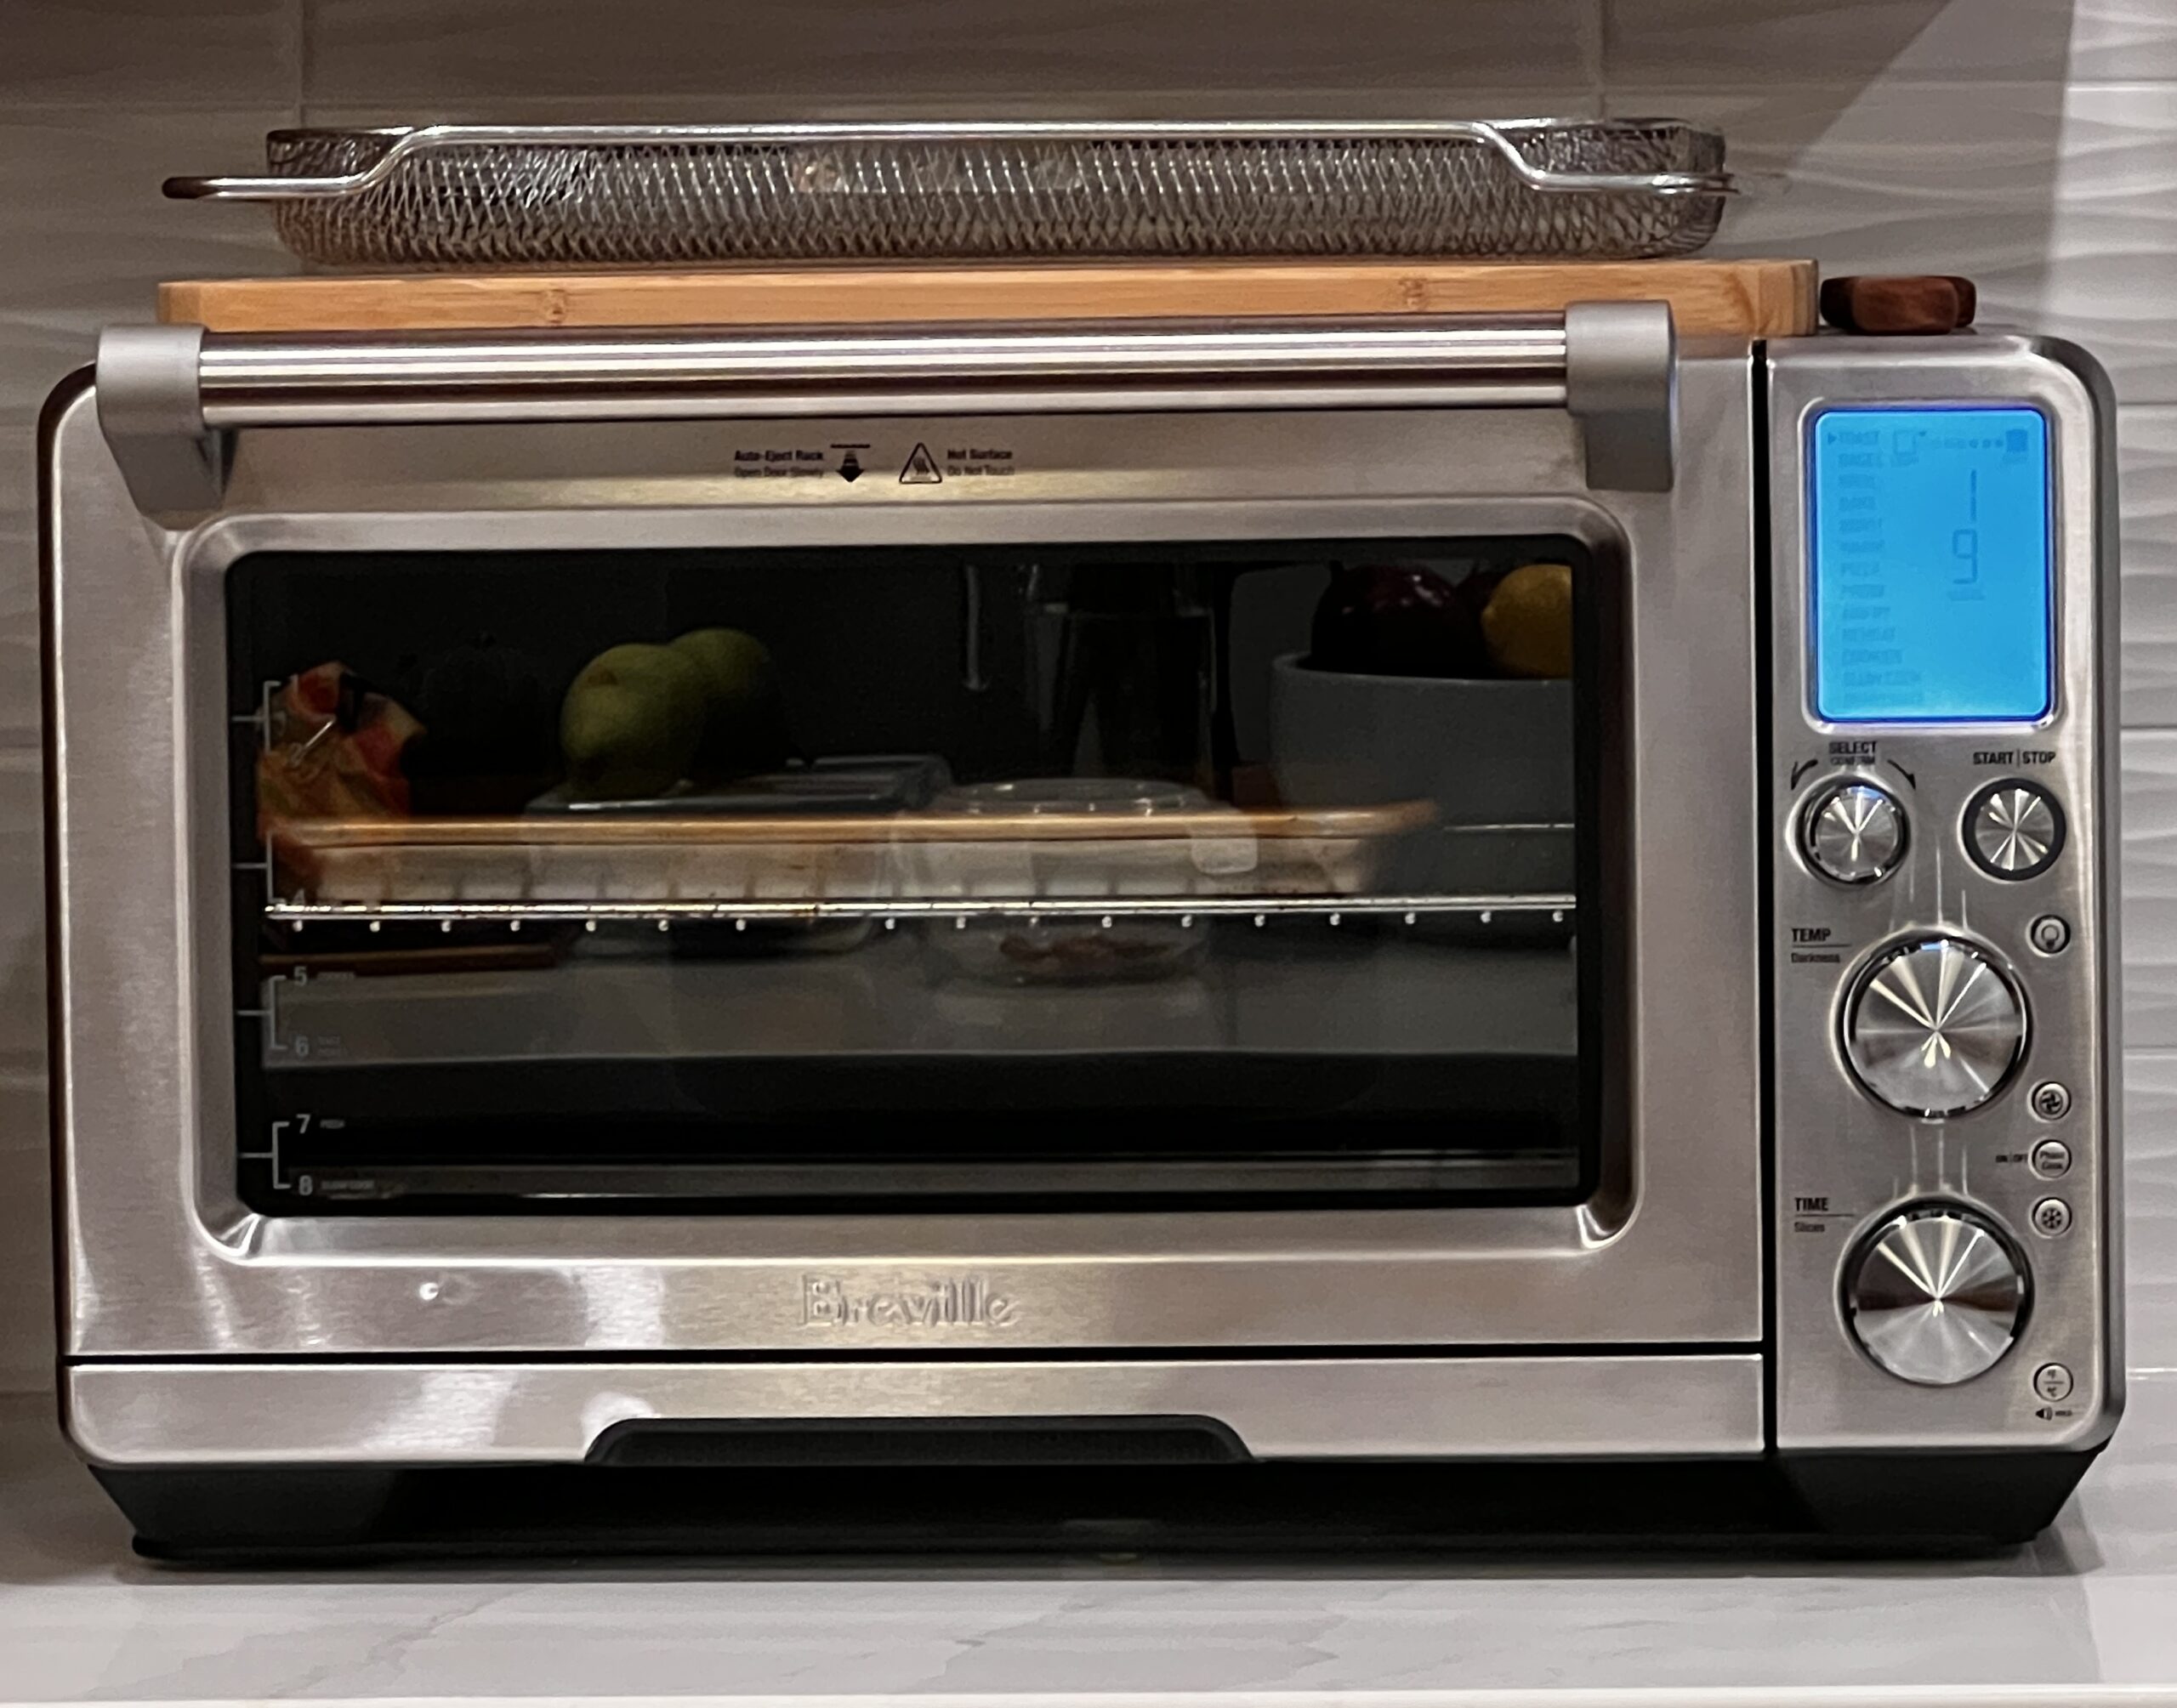
The 6-Year Review: Why We Love This Oven
As I mentioned in the intro, this countertop appliance is a true workhorse. For six years, we’ve used it daily, often as a substitute for our main oven. (In fact, we use it so much that we recently had to replace the worn-out oven racks to keep it running smoothly). It has been an indispensable tool through numerous holiday family dinners.
Even after this long, it’s one of our favorite kitchen appliances. Its only “negative” is that it’s fairly large, but for us, that’s its biggest positive. We love that we can fit a bunch of stuff in it—we often cook two big pieces of salmon with potatoes and green beans, and it’s more than enough to feed two people.
A True Multi-Functional Oven (And Space Saver)
The real value of this oven is that it truly replaces several other appliances, saving you counter space and money.
It has all the standard functions (Bake, Toast, Roast, etc.) plus an excellent Air Fry mode. But the three features that really stand out are:
- Proof: For bread bakers, this function is a huge help. I’ve been baking for several decades, and there is nothing more frustrating than an under proofed loaf, especially in winter. This feature provides the perfect, consistent environment.
- Dehydrate: This works great if you want to make your own chips, like apple chips, which are in season right now.
- Slow Cook: It can function as a slow cooker, eliminating yet another appliance from your cabinet.
It’s all controlled by simple dials, has a bright light (which we’ve never had to replace), and the convection fan is powerful.
The Problem: Symptoms of a Broken Door Spring
We knew something was wrong before we ever saw the spring. If you’re experiencing these issues, your spring is likely the culprit:
- Loose Door: The door feels loose and doesn’t “snap” shut with a tight seal. The feeling is very similar to a broken spring on a patio screen door, it just sort of hangs loose without any tension.
- Exterior Condensation & Poor Cooking: This is a major tell-tale sign. You’ll suddenly notice moisture building up on the outside of the oven door. This happens because the broken spring no longer has the tension to pull the door firmly against the rubber gasket. Hot, moist steam leaks out of this gap and condenses on the cooler outer glass. More importantly, all that escaping heat means the oven can’t maintain its set temperature, which will lead to improperly cooked food.
- Most Functions Fail (The “Smart” Oven Problem): This was the biggest clue. We found that only the basic functions like “Toast” still worked, while other modes like “Bake” or “Air Fry” failed to engage. This is a safety feature. As a “smart” oven, the appliance has a small mechanical door sensor switch. When the door is properly shut, the spring’s tension pulls it tight, depressing this switch and telling the oven’s computer, “The door is sealed. It’s safe to start heating.” When the spring is broken, the loose door doesn’t have enough force to press that switch. The oven, thinking the door is still open, will not start the main cooking functions as a safety and efficiency measure.
Is This Repair for You? (Difficulty: Easy to Medium)
Before you start taking things apart, let’s talk about difficulty. We rate this as an easy to medium repair.
If you are comfortable using a screwdriver and can keep track of small parts (use that bowl!), you can absolutely do this. The most important skills you need are patience (especially with the gasket) and the care to avoid touching the electronics. It’s not a complex repair, but it does take about 30-45 minutes of careful work.
The Honey-Do List: A Step-by-Step Repair Guide
Here’s the full guide to getting your oven back in working order. For a complete visual walkthrough of every step, you can watch our full YouTube repair video here:
Tools & Parts You’ll Need:
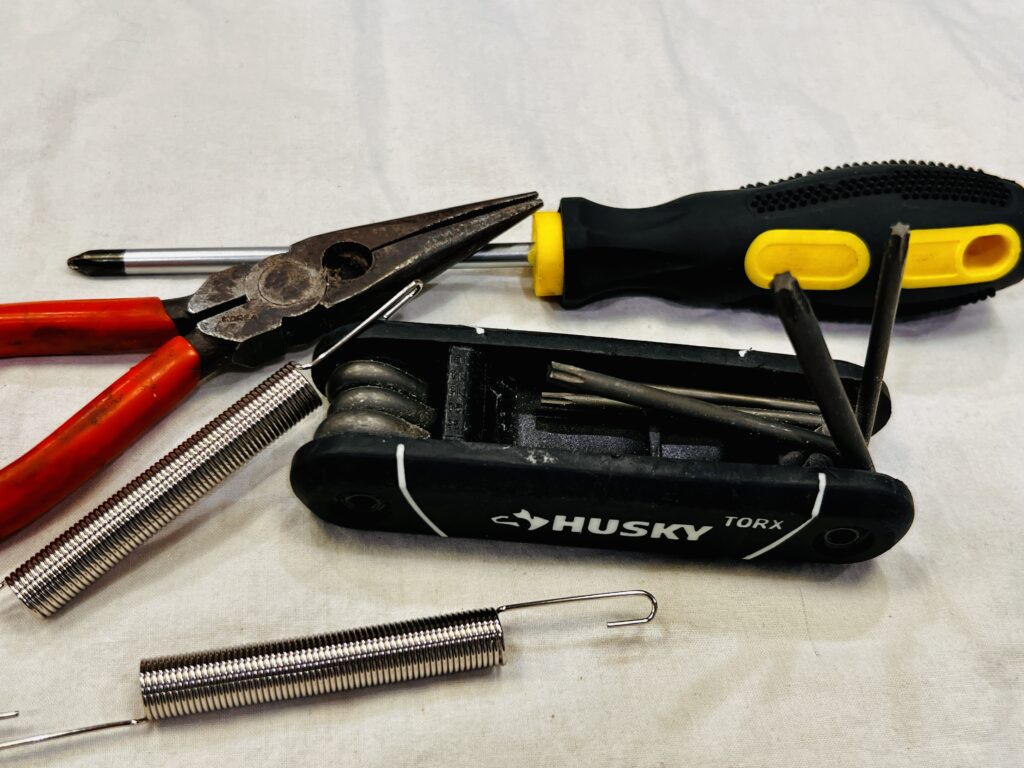
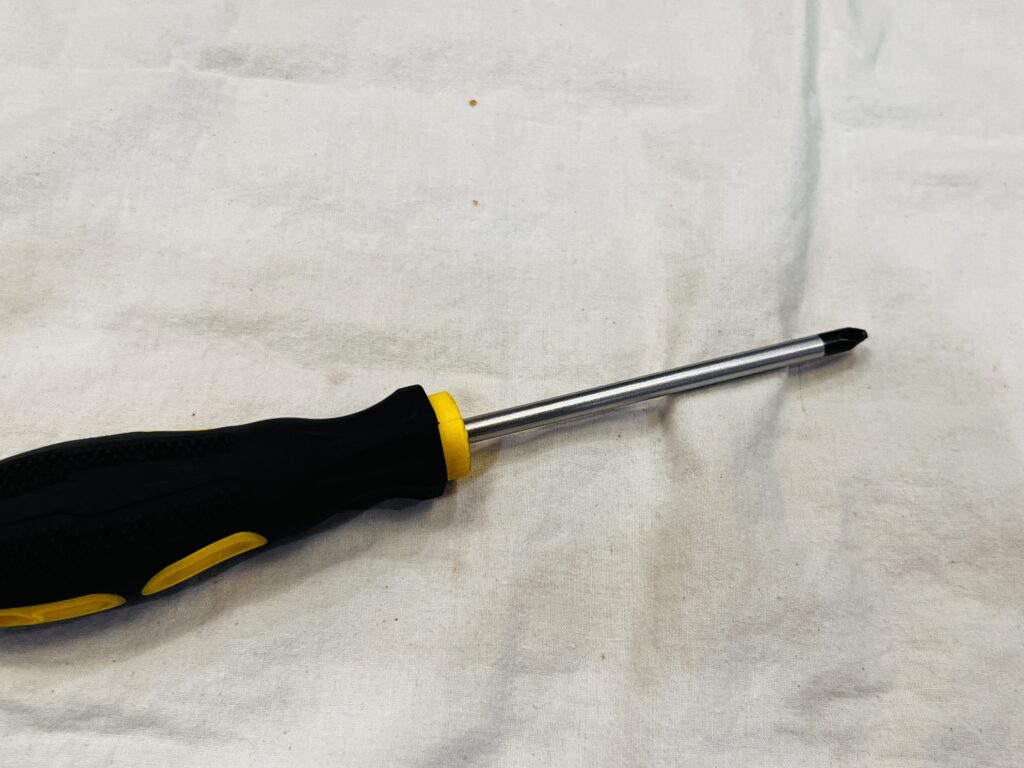
Screwdrivers
- Short Phillips #1 (for the back panel)
- Long Phillips #1 (for the bottom panel)
These have a “+” shaped tip instead of the flat ” – ” shape.
- A Torx or Star bit for the side screws. These have a star ( * ) shaped tip.

- Other Tools:
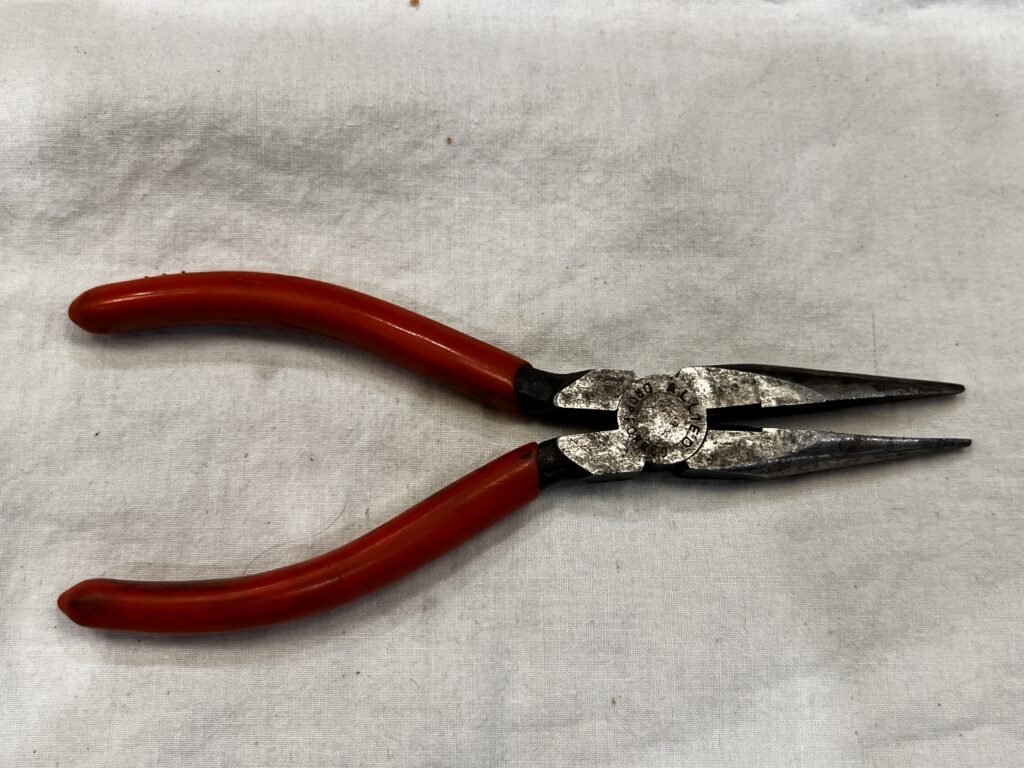
- Needle Nose Pliers
- A small bowl (highly recommended)
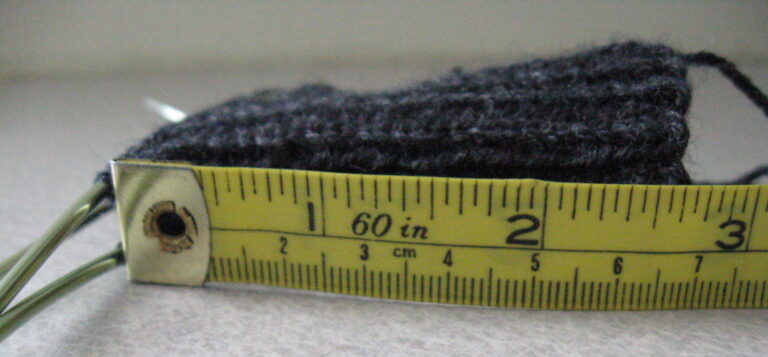
Springs:
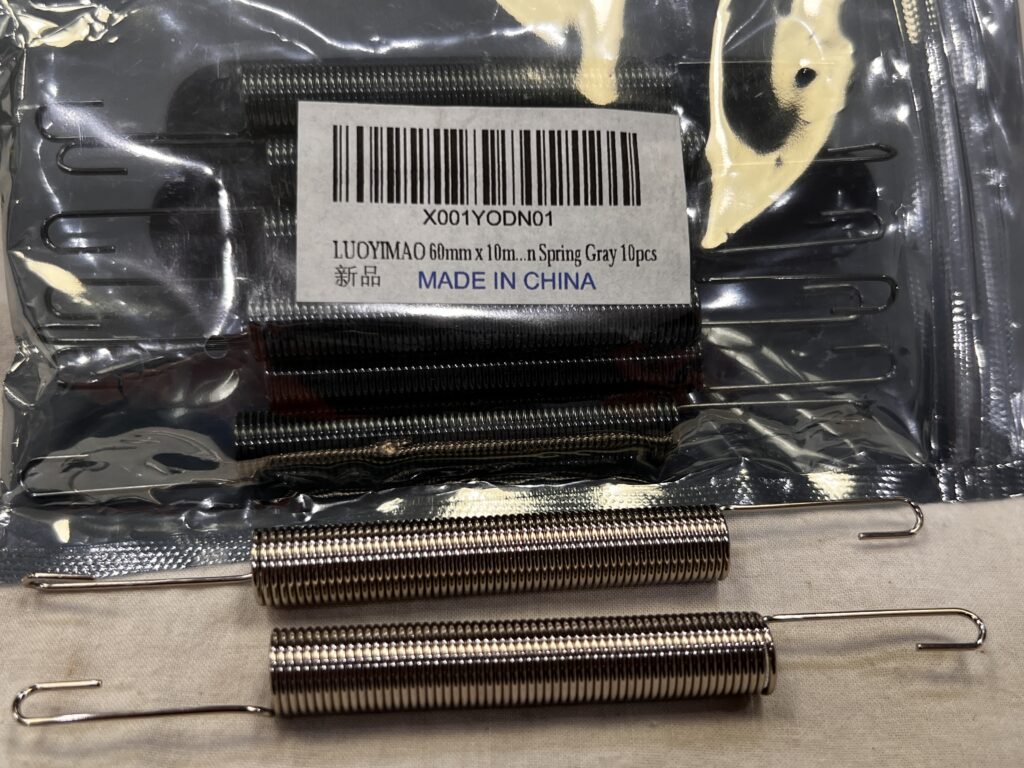
- Replacement Springs: We used this 10-pack of 60mm x 10mm x 1.0mm Dual Hook Tension Springs (affiliate link). An exact Breville OEM spring was hard to find and expensive. This 10-pack was a perfect, low-cost alternative.
Cleaning Supplies:
- Rubbing Alcohol (70%)
- Cotton Swabs
- Towels
Step 1: Disassembly (Finding the Screws)
First, unplug the unit.
Pro Tip: Use a small bowl to collect all the screws as you remove them. There are a lot of small screws from different parts of the oven, and you don’t want to lose them!
To get the main cover off, you need to remove screws from three different places:
- The Back: Use a short Phillips #1 to remove all the small screws on the back of the unit.
- The Sides: Use your Torx/Star bit to remove the 4 security screws on the sides (two on each side).
- The Bottom: Use your long Phillips #1 to remove the 6 screws on the bottom (three on each side).
Step 2: The “While You’re In There” Clean-Up
Once I had the cover off, the first thing I noticed was how dirty the internal fan was. It was fairly greasy and had some white residue on it.
- How to Clean: I found that dipping a cotton swab in a little 70% rubbing alcohol worked perfectly for cutting through the grease on the fan blades and other greasy surface areas.
- Why Alcohol? We chose rubbing alcohol over a typical water-based cleaning solution for a very specific and important reason: alcohol evaporates almost instantly. A water-based cleaner not only takes longer to dry but can also spatter and leave behind hidden water droplets. The last thing you want is stray moisture or drips getting near the sensitive electrical components of the oven. The fast-evaporating alcohol is much safer for this kind of internal cleaning.
- ❌ AVOID ELECTRONICS: This is extremely important. Be very careful to stay away from the electronics. You will see capacitors and other components. Do not touch any of that stuff with the alcohol-dipped swab or anything else.
Step 3: Replacing the Door Spring
I found the broken spring lying in the bottom of the chassis on the side.
- Find the Part: As I mentioned, the exact Breville spring was hard to find and expensive ($8 + shipping). I found a 10-pack of similar 60mm springs on Amazon (affiliate link) for about $13 with fast shipping, which was a much better deal.
- Verify the Fit: The most important part is that the 1.0mm thickness and 60mm length of the replacement springs are a perfect functional match for the original. The tension felt identical and restored that satisfying “snap” to the door perfectly. And since it’s a 10-pack, you now have 9 spares for the future.
- Use Pliers: I used my needle-nose pliers to get the spring on. I had to stick the pliers in one hook, stretch the spring a little bit, get it through the loop, and then gently bend the hook closed so it was on there good and firm.
- Install the Spring: The new spring has two hooks.
- One hook goes on a bottom loop on a bracket (this also helps you identify where the spring goes).
- The other hook attaches to the metal loop on the door hinge mechanism.
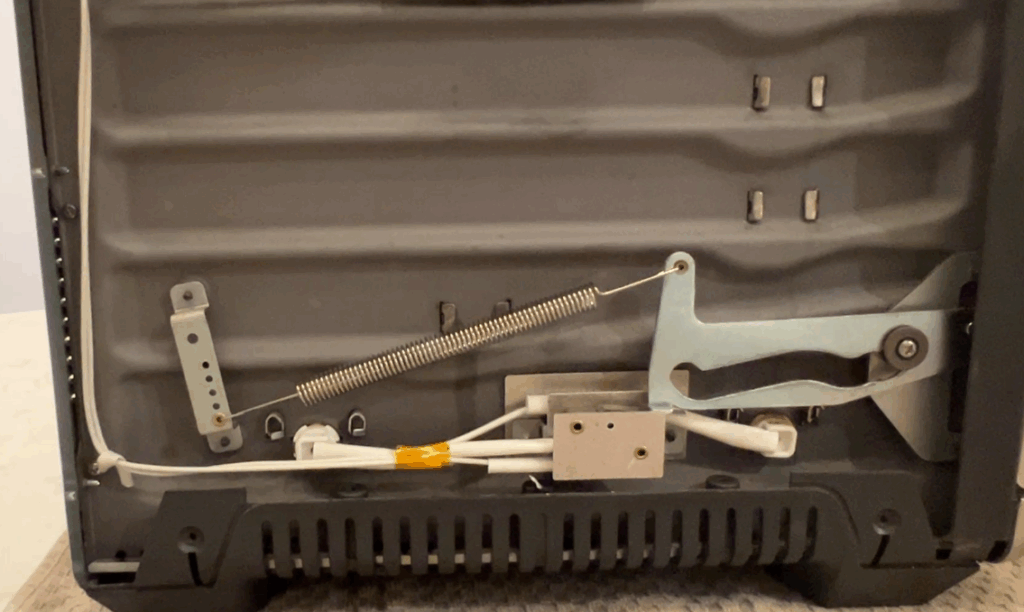
With the new spring installed, the door will be taut, and it will now properly engage the internal mechanism, allowing all the oven’s other functions to work again.
Step 4: The Reassembly (Get a Helper!)
This is the trickiest part. Putting the cover back on can be difficult, and it’s almost easier if you have two people.
- Watch the Gasket: There is a rubber gasket around the metal edge. This gasket has a little lip in the back that must go around the back metal edge of the chassis. If it’s not seated properly, the cover will keep moving on you.
- Be Careful: The cover is a bit wobbly. You don’t want to bend or dent it.
- Guide it: Once the gasket is seated in the back, you can guide the clips on the top and sides into place. It takes a little firm pressure, but it should snap back on.
Be Prepared: The $13 Fix to Buy Before It Breaks
Our spring broke on a normal week, which was just an inconvenience. But I can’t imagine the frustration if the door had failed while trying to get a big Thanksgiving dinner out, or in the middle of preparing for any important meal. It would be a kitchen catastrophe.
If you have this model and it’s getting to be 4+ years old, I highly recommend being preventative. For $13, you can buy this 10-pack of springs and just have them on hand.
That way, if the spring fails while you’re trying to get a big dinner on the table, it’s a 30-minute fix, not a ruined meal and a $400 replacement.
Final Verdict: Our Breville Smart Oven Pro Review & a “Buy It For Life” Win
★★★★★With the new spring and a good cleaning, our Breville Smart Oven Pro is back to being the 5-star workhorse it’s always been. The door shuts with a satisfying, solid seal, and all the functions are working perfectly again.
If your Breville oven door is feeling loose, don’t give up on it. This is what the “Buy It For Life” audience is all about: a high-quality product that can actually be repaired. This $13 fix is not only a huge money-saver, but it’s an environmentally-friendly choice, saving a perfectly good, large appliance from a landfill.
We highly recommend this oven, and now we know it’s repairable, we love it even more. It’s as indispensable in our kitchen as the EGO leaf blower is for our yard.
If you’re here for the review or the repair, here are the links for the oven and replacement springs:
(As an Amazon Associate, we earn from qualifying purchases.)
What’s Next? Refreshing the Interior
Now that your door is snapping shut perfectly, take a look at your racks. Are they grinding or looking dull?
We just published Part 2 of our Breville restoration series. See how we stopped the friction and upgraded to stainless steel in our full review: Make Your Breville Feel New Again with This Rack Upgrade.
References
- Breville BOV900 User Guide (PDF): https://www.breville.com/content/dam/breville/us/en/assets/miscellaneous/instruction-manual/ovens/BOV900-instruction-manual.pdf
- 60 Types of Screwdrivers (Reference): https://mrmrsenglish.com/60-types-of-screwdrivers-names/