Is your Breville Smart Oven showing its age after years of daily cooking? We recently rescued our 6‑year‑old Breville Smart Oven Pro from the landfill by repairing a broken door spring with a $13 part instead of buying a new $400 oven. Once the oven was mechanically sound, we turned our attention to the interior. After countless meals, from roasting salmon to proofing bread and air frying, the original racks and accessories were worn out. To keep this workhorse running for the long haul, we upgraded with a Breville Smart Oven Pro replacement rack that made our oven feel brand new again. Here’s our full review, buying guide, and the science behind keeping your food from sticking.
Table of Contents
The Problem: Symptoms of a Worn-Out Rack
You might not notice it happening day-by-day, but take a look at your oven racks. After years of high heat and friction, the original chrome coating eventually gives up. We noticed specific symptoms:
- The “Grind”: When sliding the sheet pan in or out, it made a scratching, grinding sound rather than a smooth slide.
- The Friction: The smooth “glide” that Breville is known for was gone. It felt rough to the touch where the sheet pans had worn through the plating.
- The Look & Maintenance: The smooth coating was completely gone, which made the racks difficult to clean. The color was no longer shiny chrome, but a dull, raw metal look.
We held onto the originals for as long as we could. Although the Breville comes with two racks, we frequently need both when we are cooking a full meal. This unit has essentially replaced our regular oven, which is too big for a family of two. Since the Breville has become our primary oven, keeping both racks in working order is essential.
• Perfect Fit: Designed specifically for the Breville BOV900BSS guide rails (no jamming or falling).
• Material Upgrade: Solid stainless steel replaces the original peeling chrome plating.
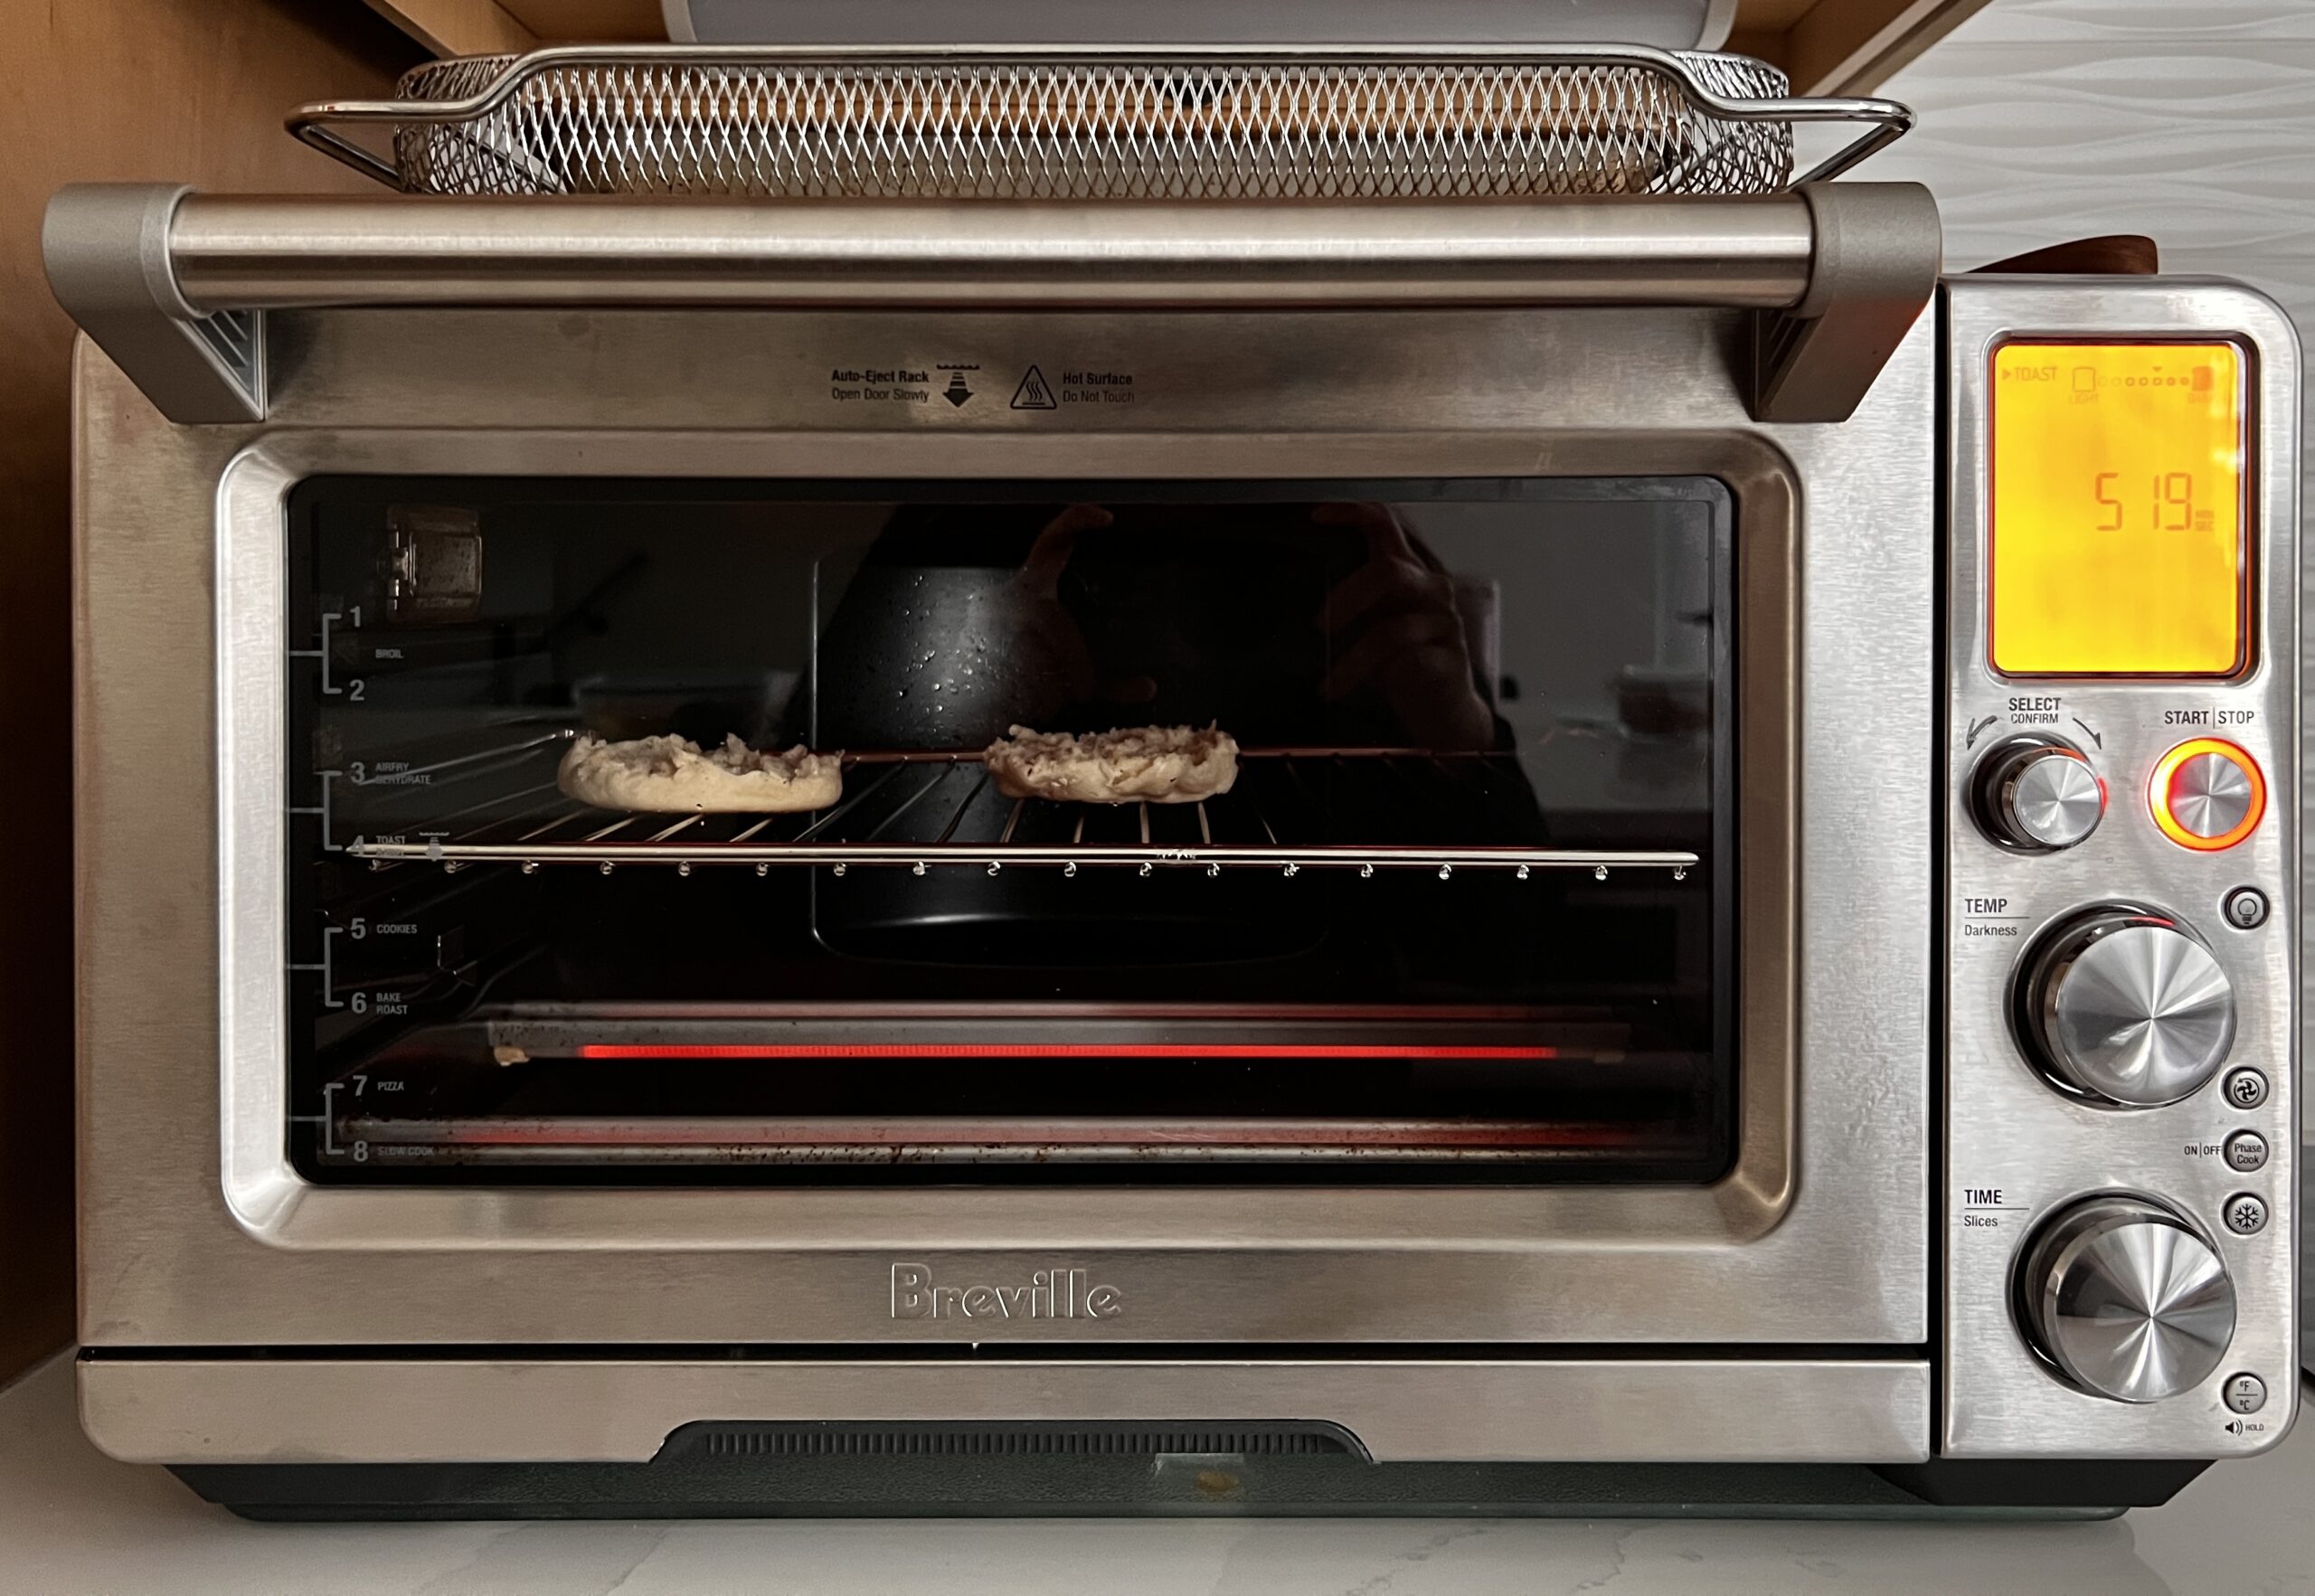
• The “Sizzle” Trick: Preheat the rack to 375°F+ to use the Leidenfrost Effect for non-stick toasting.
• Maintenance: Unlike the original racks, these are 100% dishwasher safe.
The Solution: A Breville Smart Oven Replacement Rack That Fits
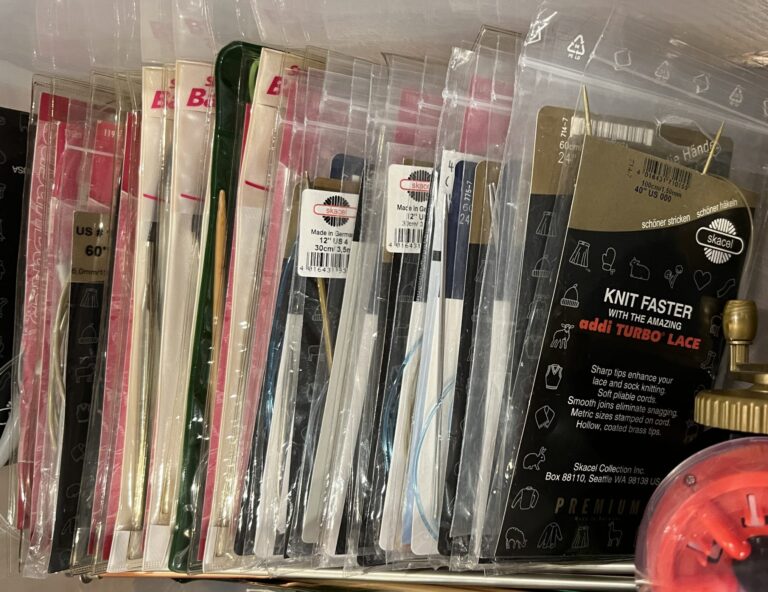
Finding parts for countertop ovens can be tricky. We weren’t sure if we could find a third-party replacement that would fit the specific guide rails of the BOV900BSS model, but we took a chance on the GWY Smart Oven Rack (affiliate link).
Here is how it held up to the original:
1. Precision Compatibility
This was our biggest worry. If the rack is even a millimeter too narrow, it falls; too wide, and it jams in the tracks. We are happy to report these are a perfect fit. They slide into the guide rails with the exact same tolerance as the OEM racks.
2. Stainless Steel Quality
Placing the new rack next to the old one was night and day. The stainless steel finish is bright, smooth, and restores that “premium” feel. It is also dishwasher safe, which makes the initial deep clean very easy.
3. Restoring the Smooth Action
This is the “ASMR” part of the repair. The gritty grinding noise is gone. Our sheet pans slide silently again. It sounds like a small detail, but when you use an appliance multiple times a day, that smooth action makes a huge difference.
Pro Tip: How to Prevent Sticking on Stainless Steel Racks
One minor trade-off of switching from the coated racks to stainless steel is that you lose the non-stick coating. However, you can prevent your toast or food from sticking with a simple chef’s trick: Preheat the rack.
I do a lot of bread baking, and the concept is identical to preheating a Dutch Oven before dropping in the dough, or heating a skillet before adding oil.
The Science Behind It: When your bread hits a hot rack, the surface moisture instantly turns to steam, and the starches sear immediately. This creates a tiny barrier and a “crust” that prevents the food from bonding to the metal. If you put food on a cold rack, the food and metal heat up together, allowing the starches to melt and glue themselves to the rack before they crisp up.
Comparison: Cold Rack vs. Hot Rack
| Feature | Cold Rack Start | Pre-Heated Rack Start |
| Sticking Risk | High (Food bonds as it warms) | Low (Instant sear/crust) |
| Toast Texture | Uneven (Soggy bottom) | Crisp & Even |
| Cleaning | Difficult (Scrubbing stuck bits) | Easy (Wipe clean) |
To visualize why that initial “sizzle” is so important, explore the interactive chart below.
- Hover or Tap: Move your mouse (or tap) over the dots to see the exact risk percentage at different temperatures.
- Zoom In: Click and drag your mouse over a specific section of the line to zoom in for a closer look.
- Reset: If you get stuck or want to see the whole chart again, just click the “Reset Chart” button below the graph.
You want your food to land in the “Instant Sear” zone, not the “Gluelike Bond” zone.
Understanding the Curve: The Physics of “The Sizzle”
You might be wondering about the math behind the curve above. We calculated this “Sticking Risk” percentage based on the physical properties of protein bonding and the Leidenfrost Effect.
Here is the breakdown of the temperature zones shown in the graph:
- 75°F – 250°F (The Bond Zone): At these lower temperatures, proteins and starches in your dough have time to settle into the microscopic pores of the stainless steel. As they heat up slowly with the metal, they form chemical bonds (adsorption), essentially gluing the food to the rack (McGee, 2004).
- 300°F – 325°F (The Transition): This is the tipping point. The Maillard reaction (browning) begins to occur rapidly. Moisture on the surface of the bread starts to vaporize quickly, creating a weak steam barrier.
- 375°F+ (The Glide Zone): This is where the physics works in your favor. At these temperatures, the surface moisture vaporizes instantly upon contact, creating a continuous layer of steam that lifts the food slightly off the metal—similar to a water droplet skittering across a hot skillet. This is known as the Leidenfrost Effect (Bergman et al., 2011). Simultaneously, the crust hardens instantly, preventing the dough from flowing into the metal’s pores.
Final Verdict: A Necessary Upgrade
★★★★★For the price of a takeout lunch, this upgrade decision was easy.
If you are part of the “Buy It For Life” crowd, you know that maintenance is key.
- Phase 1: Fix the mechanical failure (Door Spring).
- Phase 2: Refresh the consumable/functional parts (The Racks).
If your Breville is starting to feel its age, don’t buy a new one. A little maintenance goes a long way.
(As an Amazon Associate, we earn from qualifying purchases.)
References
Bergman, T. L., Lavine, A. S., Incropera, F. P., & DeWitt, D. P. (2011). Fundamentals of Heat and Mass Transfer (7th ed.). John Wiley & Sons.
McGee, H. (2004). On Food and Cooking: The Science and Lore of the Kitchen (2nd ed.). Scribner.